Getting Started with Webpack
Setup
To begin, let's initiate a new Webpack + TypeScript project from scratch.
- Create an empty directory first:
mkdir my-novorender-app
- Navigate into the newly created directory:
cd my-novorender-app
- Create a
package.jsonfile with default config:
- npm
- Yarn
- pnpm
npm init -y
yarn init -y
pnpm init -y
- Install the required packages:
- npm
- Yarn
- pnpm
npm install -D webpack webpack-cli typescript ts-loader webpack-dev-server copy-webpack-plugin html-webpack-plugin
yarn add --dev webpack webpack-cli typescript ts-loader webpack-dev-server copy-webpack-plugin html-webpack-plugin
pnpm add -D webpack webpack-cli typescript ts-loader webpack-dev-server copy-webpack-plugin html-webpack-plugin
Configuring Webpack
In this step, we will add some basic Webpack configuration to transpile the project with Typescript.
Create a webpack.config.js file in the root directory of the project and add the following code:
const HtmlWebpackPlugin = require("html-webpack-plugin");

module.exports = {
    entry: './src/main.ts',
    module: {
        rules: [
            {
                test: /\.ts?$/,
                use: 'ts-loader',
                exclude: /node_modules/,
            }
        ],
    },
    resolve: {
        extensions: ['.ts', '.js'],
    },
    plugins: [
        new HtmlWebpackPlugin({
            template: 'index.html'
        }),
    ],
    devServer: {
        client: {
            overlay: {
                warnings: false,
            }
        }
    },
};
In addition to the Webpack configuration (which is pretty much self-explanatory), you might have noticed that we're setting devServer.client.overlay.warnings to false. This setting is necessary because Webpack may produce warnings related to dynamic imports within the @novorender/api, which can be displayed as overlay warnings on the browser viewport. However, by setting this value to false, we prevent these warnings from appearing on the browser screen while still being able to view them in the developer console for debugging purposes. This adjustment helps maintain a cleaner and less cluttered development experience.
Configuring TypeScript
The presence of a tsconfig.json file in a directory indicates that the directory is the root of a TypeScript project. The tsconfig.json file specifies the root files and the compiler options required to compile the project.
Let's create one for ourselves:
tsc --init
Above command will create a tsconfig.json file in project directory with default settings. You can further customize this file to match your project's specific TypeScript configuration needs.
Getting Error: tsc is not recognized as an internal or external command...
If you encounter an error message like tsc is not recognized as an internal or external command..., it means that TypeScript is not installed globally on your system, or it's not available in your system's PATH.
To resolve this issue, you have two options:
Install TypeScript Globally: You can install TypeScript globally on your system by running the following command:
- npm
- Yarn
- pnpm
npm install -g typescriptyarn global add typescriptpnpm add -g typescriptUse
npxto Initialize TypeScript: Alternatively, you can usenpxto run TypeScript commands:npx tsc --initThis will ensure that TypeScript is temporarily installed and executed within your project's context.
Both options are valid, and you can choose the one that suits your preference. Using npx is a common practice for project-specific dependencies to avoid global package management.
Adding Build Commands:
Open package.json and add the following commands to scripts, we'll use these later to run the development server and to bundle the project:
"dev": "webpack-dev-server --mode development --open",
"build": "webpack --mode production"
Installing Web API
Run the following command to install the Novorender Web API package:
- npm
- Yarn
- pnpm
npm i --save @novorender/api
yarn add @novorender/api
pnpm add @novorender/api
The NPM package contains pre-built ESM bundles for the main script and worker scripts as well as the binary resource dependencies. We removed support for legacy UMD modules.
A copy of all the original typescript source code along with sourcemaps is included too. We consider the source code an important part of our documentation.
Besides installing the package, you must make sure the files in the public/ directory of this package are available to your server, this is covered in next section.
Copying required resources
Before we move forward to actually implementing the Novorender Web API, we need to find some way to copy the resources from node_modules/@novorender/api/public, let's use CopyWebpackPlugin to accomplish this.
Put the following code into webpack.config.js:
// import the copy plugin
const CopyPlugin = require("copy-webpack-plugin");

...
// add into into `plugins` array:
new CopyPlugin({
    patterns: [
        { from: "node_modules/@novorender/api/public/*", to: "novorender/api/[name][ext]" }
    ]
}),
...
Server requirements
Our API uses advanced, cutting edge javascript APIs, many of which comes with certain security requirements. In general, the following two global properties have to be true: isSecureContext and crossOriginIsolated.
To make it all work, your server has to ensure:
A secure context. In practice, this means HTTP on localhost (for debugging only) and HTTPS everywhere else, including LAN.
Cross origin HTTP headers for top level documents.
Cross-Origin-Opener-Policy: same-origin
Cross-Origin-Embedder-Policy: require-corp
This can be done by adding the following headers in Webpack config file's devServer object.
...
devServer: {
      headers: {
          "Cross-Origin-Opener-Policy": "same-origin",
          "Cross-Origin-Embedder-Policy": "require-corp",
      }
},
...
Adding headers via ModHeader
If the above method of adding headers doesn't work or you don't have access to the build configuration, you can utilize the ModHeader browser extension. This extension allows you to modify HTTP request and response headers, providing an alternative way to address header-related issues.
It's important to note that the method described above for enabling Cross-Origin headers is primarily intended for development mode. When transitioning to a production environment, you will need to configure these headers on your server. The specific implementation will depend on the server you are using, so please consult the relevant documentation for detailed instructions.
MIME type
text/javascriptfor javascript files andapplication/wasmfor web assembly files.Any resources loaded from a separate domain has be configured with CORS to allow your domain.
Service workers script at the appropriate location, preferably at the root of your domain. See MDN for more.
Typescript
Using our APIs from javascript is possible but strongly discouraged. We rely heavily on typescript to help users catch common errors at edit/compile time. Technical support will only be provided for typescript users.
This package is built using version ^5.3.3 of typescript. As a rule of thumb, you should upgrade to the latest version of typescript whenever a new version is released.
If you plan to do your own bundling and use our sources directly, you may want to use our tsconfig.json as a baseline for your own:
{
  "extends": "node_modules/@novorender/api/tsconfig.json", // or wherever...
  "compilerOptions": {
    ...
  }
}
We generally use ESNext as target since we only support latest version of browsers with cutting edge support for 3D rendering. Also, we use relatively new typescript features such as verbatimModuleSyntax and allowArbitraryExtensions.
Writing some code
Now that we have a proper project in place, we can go ahead implementing the actual API.
Providing required resources
Before we create a view, we need to provide it with some resources;
- Canvas
- Device profile
- Imports
These resources are crucial for setting up and configuring the view properly.
Canvas
To begin, let's create an HTML canvas element, create index.html file in the root directory and paste the following:
<!DOCTYPE html>
<html lang="en">
  <head>
    <meta charset="UTF-8" />
    <meta name="viewport" content="width=device-width, initial-scale=1.0" />
    <title>My Novorender App</title>
  </head>
  <body>
    <canvas id="canvas" style="width: 100%; height: 100%;"></canvas>
  </body>
</html>
It's crucial to set the CSS width and height properties on the canvas element to prevent runaway resize feedback loops. This ensures that the canvas has the correct dimensions and behaves as expected.
Then, create a working directory called /src in the root of the project. Inside this directory, add a new file named main.ts. Then, insert the following code into main.ts to obtain a reference to the canvas element we previously created:
const canvas = document.getElementById("canvas");
Device profile
Get the device profile:
import { getDeviceProfile } from "@novorender/api";

const gpuTier = 2;
const deviceProfile = getDeviceProfile(gpuTier);
Imports
Remember we copied some resources from @novorender/api/public dir? that's where they come into play.
import { View } from "@novorender/api";

const baseUrl = new URL("/novorender/api/", window.location.origin);
const imports = await View.downloadImports({ baseUrl });
Getting Error: `Cannot find module '/novorender/api/shaders.js`
// @ts-expect-error
import { shaders } from "@novorender/api/public/shaders";

const imports = await View.downloadImports({ baseUrl, shaders });
// @ts-expect-error is essential because TypeScript might incorrectly assume that the @novorender/api doesn't expose this module, even though it does and this will tell TypeScript to suppress that error from being reported.
Creating View
With all the necessary components in place, we can proceed to create and run our view:
import { View } from "@novorender/api";

const view = new View(canvas, deviceProfile, imports);
await view.run();
Finally, call the view.dispose method to clean up the view's GPU resources.
view.dispose();
Let's consolidate all the steps and components we've discussed and see the result:
import { View, getDeviceProfile } from "@novorender/api";

const canvas = document.getElementById("canvas") as HTMLCanvasElement;

async function main(canvas: HTMLCanvasElement) {
    const gpuTier = 2;
    const deviceProfile = getDeviceProfile(gpuTier);
    const baseUrl = new URL("/novorender/api/", window.location.origin);
    const imports = await View.downloadImports({ baseUrl });
    const view = new View(canvas, deviceProfile, imports);
    await view.run();
    view.dispose();
}

main(canvas);
Avoid deep imports! Everything you need should be available from the package root: @novorender/api.
Start the development server by running the following command:
- npm
- Yarn
- pnpm
npm run dev
yarn dev
pnpm run dev
Furthermore, you can run the project we've built above directly by clicking the button below:

Upon successful execution, you should now see an image with a subtle gray gradient:
Let's make it a little more interactive by modifying renderState and adding a RenderStateGrid.
...
const view = new View(canvas, deviceProfile, imports);
view.modifyRenderState({ grid: { enabled: true } });
await view.run();
...
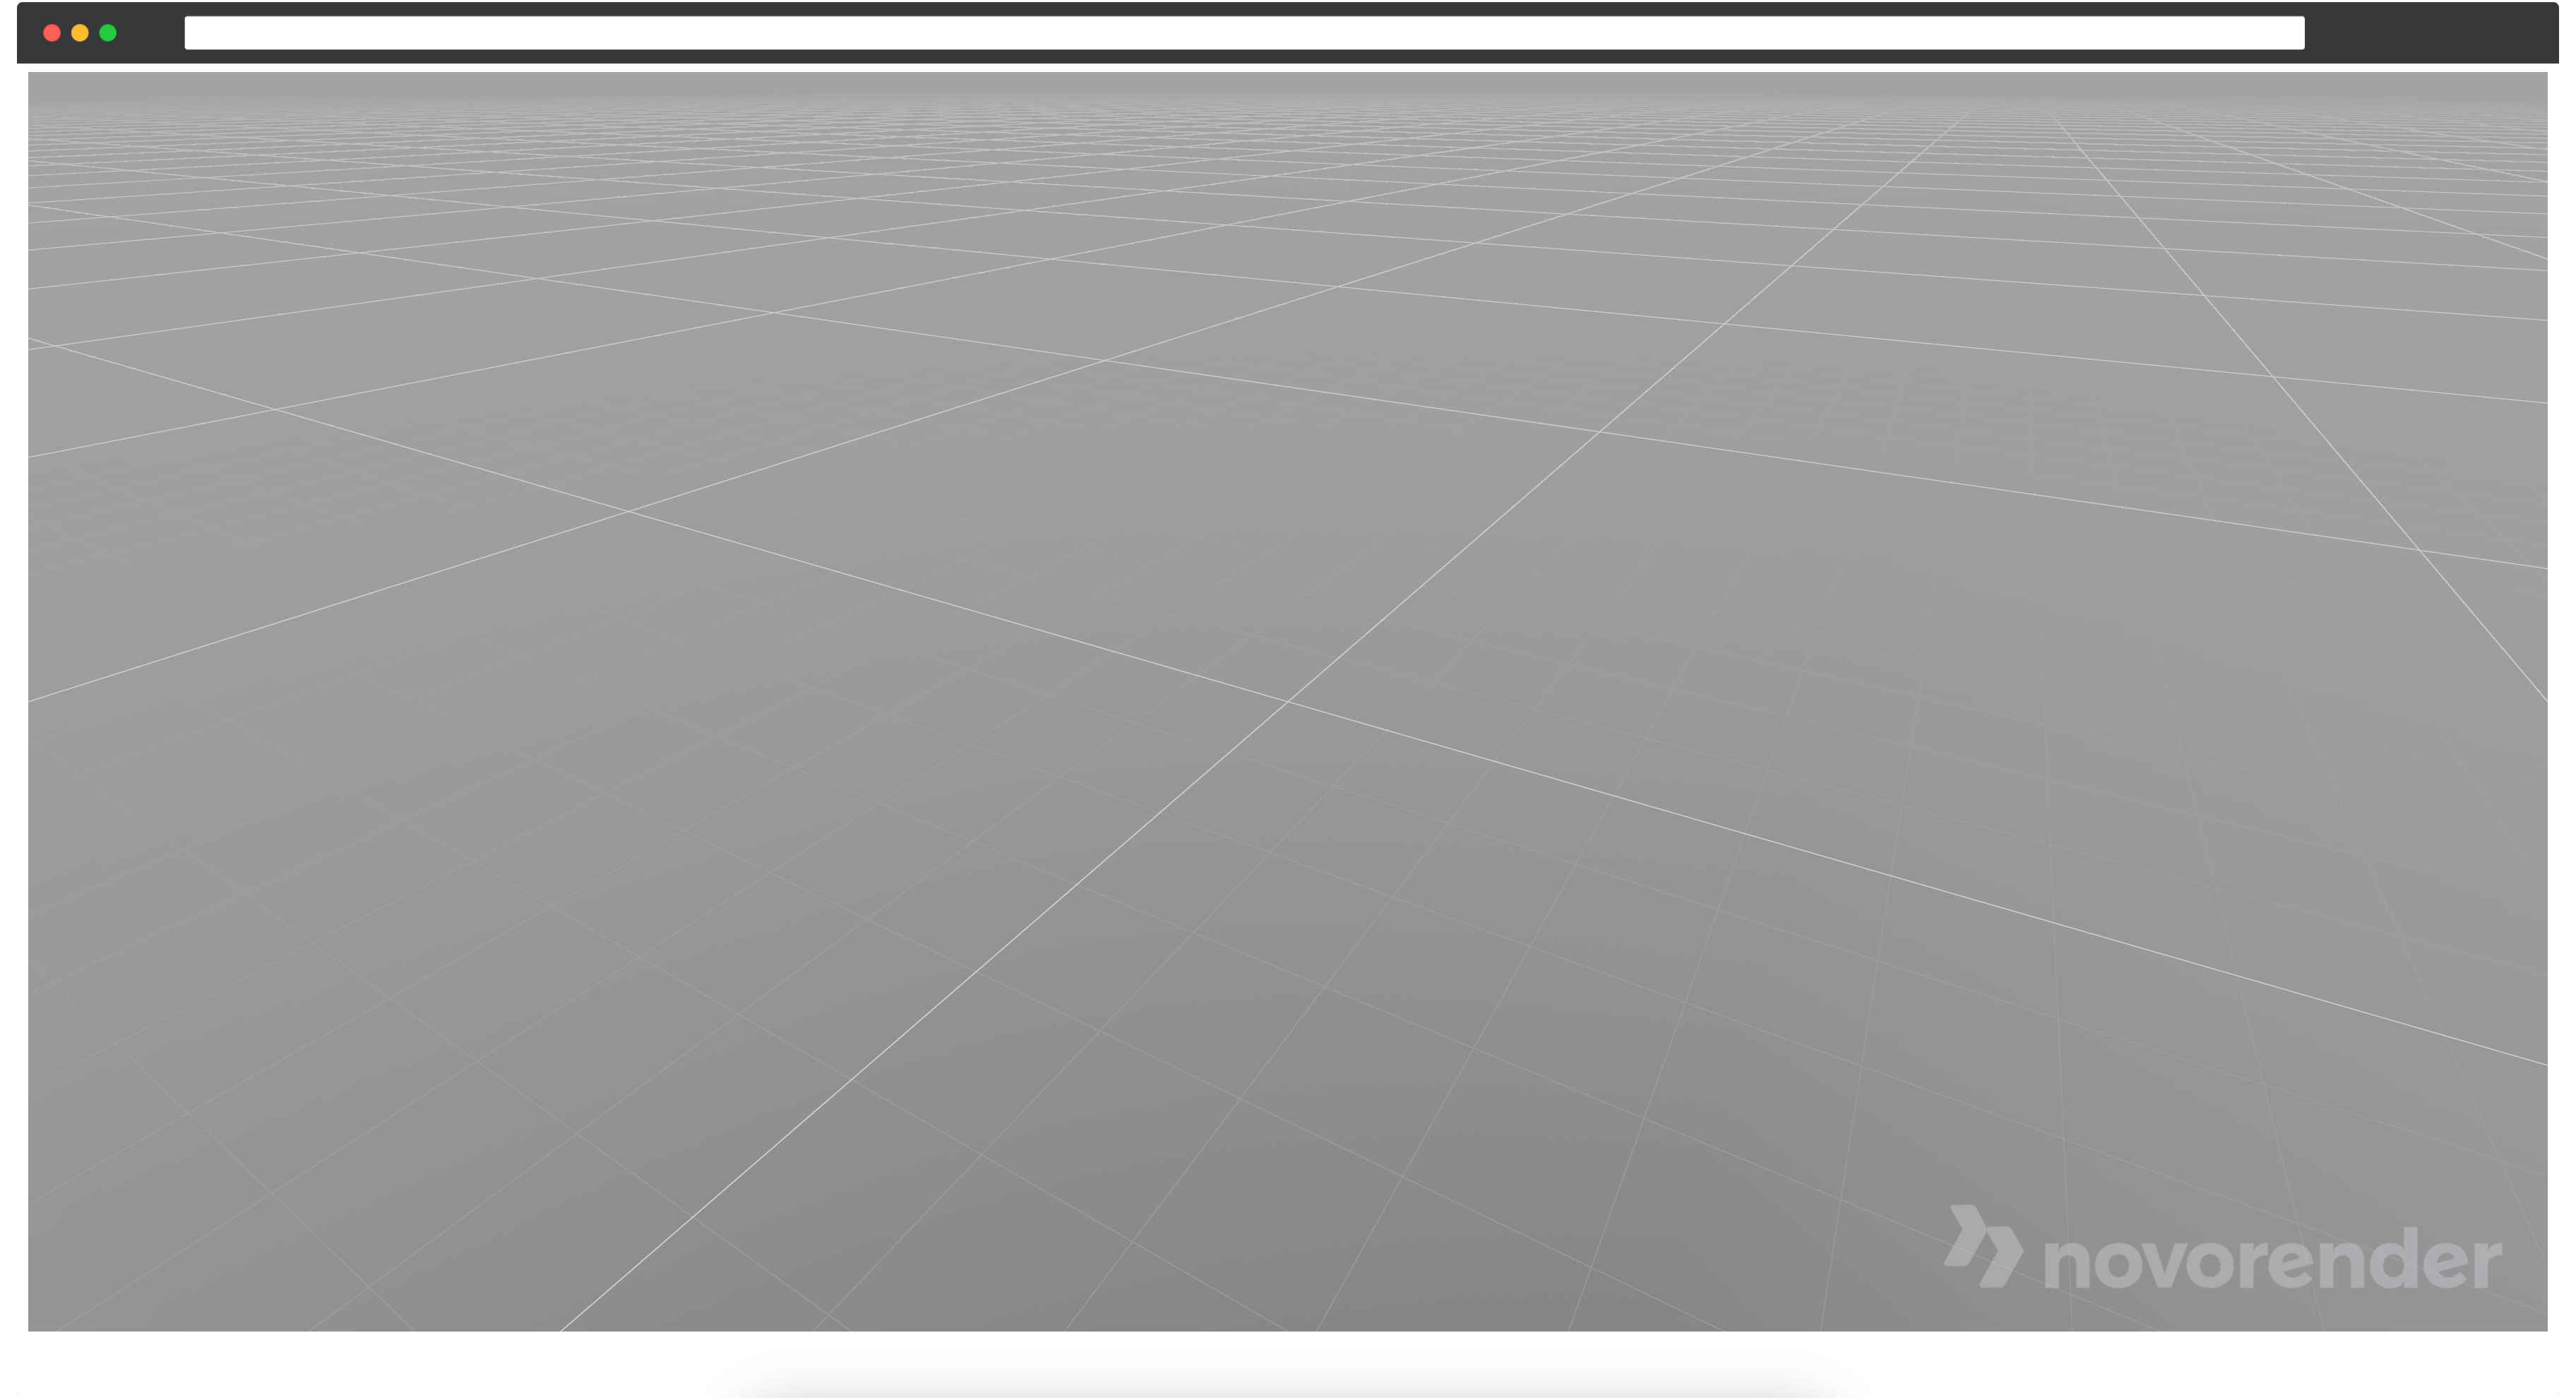
You can learn more about the RenderState here and experiment with it by adding or modifying some of its properties. This will help you better understand how to customize rendering behaviors.
The view already has camera controller built in so you can interact with the view by holding down the left-click on your mouse or trackpad. Alternatively, you can use the movement keys and WASD to navigate and move the camera around in the view.
The view will automatically resize your canvas' pixel size when the css layout and/or the render state output settings changes.
Wrapping up
🎉 Congratulations! You have successfully learned how to set up Novorender Web API. To gain a more comprehensive understanding of Novorender's capabilities, please explore the following resources:
Interactive Guides
Take a look at our interactive guides, which provide in-depth insights into various features.
Documentation
Refer to the reference documentation for detailed information on different methods and classes.
Code Samples
Visit the GitHub repository containing sample projects using different module bundlers for further practical examples.
These resources will help you harness the full potential of Novorender.
Next steps
Take a look at the following guides to learn how to load scenes using the Data JS API and perform basic measurements using the Measure Module:
Loading Scenes with Data JS API: This guide will walk you through the process of loading scenes using the Data JS API, allowing you to access and manipulate your 3D data efficiently.
Basic Measurements with Measure Module: Explore this guide to learn how to perform fundamental measurements using the Measure Module, enabling you to analyze and extract valuable data from your 3D models.
These guides will provide you with valuable insights and practical knowledge to effectively work with scenes and perform measurements in your Novorender projects.